

How to Self-Publish a Picture Book: Beginner’s Guide
- R.C. Chizhov
- Dec 1, 2022
- 7 min read

Updated: Jul 16, 2023
With the ease of self-publishing and the concise nature of a picture book, it’s tempting to take an idea that magically appeared in the shower, write a quick 400-word story, draw some pictures and upload it on Amazon for the world to buy. And voila, you’re a published author!
But let’s take a step back. Why? Because you may want to write a book that you can stand by for years to come. That children love and want to read multiple times. That parents want to buy and read to their kids. That teachers want to keep on their classroom shelves. That bookstores want to display. That garners 5-star reviews on Amazon and Goodreads. That wins awards and accolades. That stands out in a highly competitive market.
If this sounds good to you, read on the steps to self-publishing a picture book that sells. If you want to pause and see who I am, then visit my website, read my bio or browse my books.
1. Writing a Manuscript
First things first. Fiction picture books are typically 32 pages long (some are 40 pages) and under 800 words (most are under 600 words). Since children have a short attention span, it's important to make every word count!
While you write your manuscript, these four questions can help:
Does your book have a structure? Picture book structures vary but every good book definitely has one. It could be the typical problem, conflict, resolution structure. A lyrical poem, list or “how to” structure. Which one does your book follow? Here's a great article on structure.
Can children relate to your book? Will a 4-year-old relate to the main character? Will the theme engage, amuse and entertain them? Is the language easy to follow or beyond the scope of their understanding?
Have you read picture books? If you’re writing in this genre, I suggest reading enough PBs to see what’s out there. Libraries are a great place to start. Or you can visit the picture book section in a bookstore and check out read-alouds on YouTube.
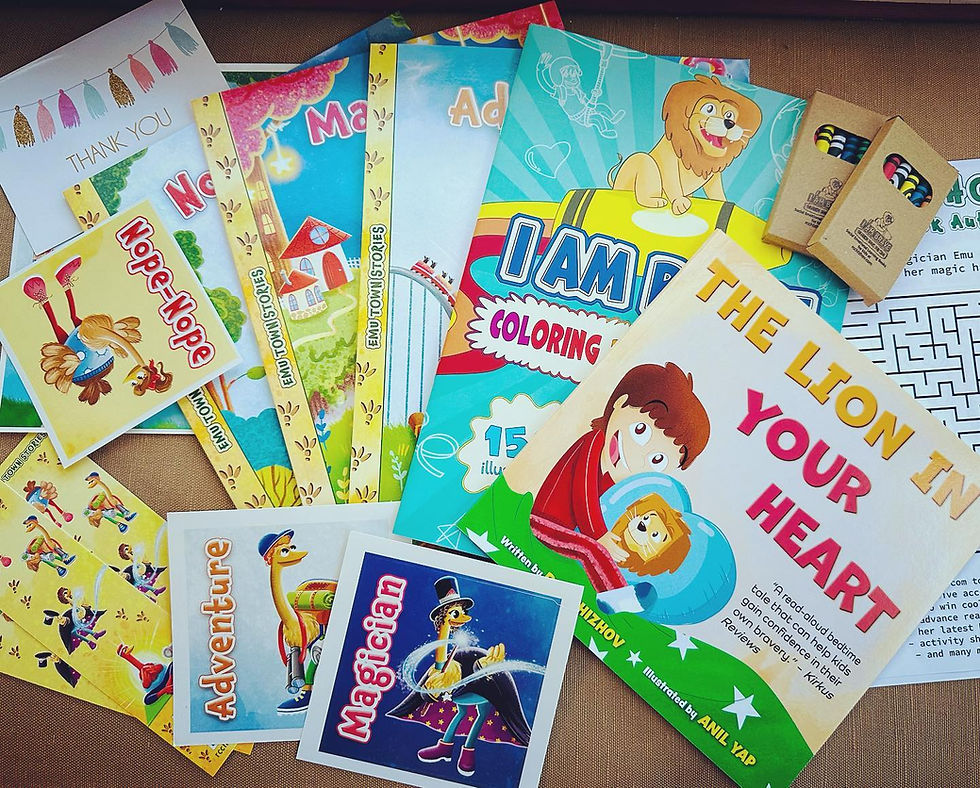
How is your book different from what’s already out there? If you’re writing a book about bunnies or dinosaurs why would someone choose yours over a hundred others? Find your opportunity in the market. E.g., one of the reasons I published Emu Town Stories was there were only a handful of books published about emus. The character is fresh and children are intrigued to learn about emus – they have three toes, can run fast, swim, are flightless and can break fences with strong legs!
2. Editing and Revisions
Yay! You have a draft ready. Now it’s time for revisions.
Step #1: Once I have a solid draft ready, I keep it aside for 2 weeks before picking it up again. This gives me the necessary distance and perspective needed for a revision. This is what works for me. Of course, you may have a different way with revisions.
Step #2: Get feedback from children, be it yours, your neighbors or your friends! After all, the book is for them, so get them to read your story and observe their reaction.
Step #3: Consider joining a critique group. While your husband, sister and friend weigh in on your manuscript, other authors writing in the same genre can provide much valuable feedback and take your manuscript to the next level. You can find critique groups through SCBWI (I highly recommend you become a member), Facebook groups like KidLit411 Manuscsript Swap or get a paid critique from an agent/editor through Manuscript Academy.
Step #4: Hire a professional editor: I wouldn’t skip this as a self-published author. A professional editor and proofreader can make your work stand out, catch grammatical errors and add the comma you missed. Depending on your budget, here’s a great list. You could also use Fiverr and Upwork.
Step #5: Put your finalized text in the 32-page format (or 40 pages) before you start working with an illustrator. As a self-published author, you own every step in the publishing process and it’s your job to determine where your text will be and on which page.
3. Choosing an Illustrator
If you cannot draw a carrot like me, it’s time to choose an illustrator that fits your budget, story and timeline. Behance is a great place to start. If you like the illustrations in a particular book, you could approach the illustrator. Many illustrators post a sample of their work on Facebook groups, Instagram and Twitter.
Once you have your awesome illustrator on board, who also wants to work with you, I recommend signing a contract. Typically, the illustrator provides you with a contract. Talk about the expected timeline so there are no surprises for both of you later. Remember, a picture book is a partnership between an illustrator and author.
My typical process of working with Anastasia Yezhela, who illustrated Emu Town Stories, was first the character design. Second, storyboards. Third, coloring. I provided her with page-by-page text of the manuscript. Every illustrator has a different style of working. This is what that worked for us.
4. Metadata
Before we move ahead to book design, you'll need to take care of metadata. Metadata describes your book. I’m going to talk about three types of metadata here:
Copyright: It’s your choice whether you want to apply for a copyright certificate. I personally choose to do it for every book. You can apply here.
ISBN: Every book needs an ISBN number. If you have a paperback and hardcover version of the same book, you’ll need two different ISBNs. ISBN’s can be bought through Bowker. Although you can get a free ISBN from KDP, I recommend getting your own. Why? Because if you choose the free ISBN from KDP, you cannot use that to publish it on another platform like IngramSpark.
Library of Congress Number (LCCN): If you want your book in libraries, then get an LCCN. It’s a bit more complicated for self-published authors. More information can be found here.
5. Book Design
Alright, you have an edited manuscript, finalized illustrations and metadata taken care of. Now how do you put everything together into a wonderful book? The short answer is you could either hire a book designer (recommended) or do it yourself.
Book designers are experts in their field, know which font to use, how to layout and worth every penny you spend. You can find freelance designers through Fiverr, Upwork, social media or by reference. Note: Your book designer will supply print ready files in the choice of your print and distribution platform, which is covered in the next step.
If you choose to do this yourself, you'll need to learn Adobe InDesign (or maybe you already know it!). There are other softwares but InDesign seems to be the most popular one.
6. Offset Printing or POD?
You have an option whether to go the Print on Demand (POD) route, which means your book is printed only when someone buys it OR go the offset printer route, which means you invest upfront in printing books. One of the advantages of offset printing is you can choose sizes, quality and add-ons that POD doesn’t offer.
I chose to go the POD route and used both Amazon KDP and IngramSpark for distribution. While KDP is easy to use and great for listing your book on Amazon, I didn’t choose their expanded distribution option and listed my book on IngramSpark. Because bookstores and libraries use Ingram to purchase their books. On KDP, you can enroll your e-book (should you choose to have one) on Kindle Unlimited and earn 70% royalty. But note that you can’t list your e-book for sale outside of Amazon then.
Here’s a great article on POD platforms.
7. Pre-Release Marketing
You have a print-ready file, but I wouldn’t hit publish yet. There are things you can do ahead of publishing to ensure success later on. I usually set out the publishing date at least 4 months after my book is ready and do some pre-release marketing:
ARC: ARC = Advanced Reader Copy. The print-ready file you now have is considered an ARC. I choose to label it as an ARC with a note on the front cover or first page, so readers know that this is not yet the final version. Because I may receive reviews or awards that I’ll put on the cover later! Now ARCs can be digital but many prefer printed copies. In that case, you have to use either an offset printer or a POD platform like IngramSpark to print ARCs.
Editorial Reviews: If you want your book in libraries and bookshelves, submit your ARC for editorial reviews depending on your budget. Editorial reviews give your book credibility and of course, honest feedback. For self-published authors, these are usually paid. Some of the most sought-after editorial reviews are Kirkus, Booklife (Publisher's Weekly), Foreword Reviews and BlueInk. Readers Favorite has a free review option if you submit in advance.
Other Reviews: Not all reviews have to be editorial. You can get creative here depending on the theme of your book. For example, if your book is about yoga, you can reach out to Yoga Institutes and teachers. For my book, Magician Emu, the Moogician gave a review!
Social Media: There are several influencers on social media who cover books. E.g., Bookstagrammers, Booktubers and Booktokers. You’ll need to get on their schedule and send ARCs in advance though. Many influencers are open only to traditionally published books so do your research and choose the ones that accept self-published books.
Awards: Like reviews, awards give your book credibility and validation. It’s not necessary to apply for awards but who doesn’t like winning one? There are several awards that accept self-published books and depending on your budget, you can apply to them. You can see the list of awards my book, The Lion in Your Heart has won.
Marketing is a massive subject and I cannot cover every aspect in this article, but the gist of it is that use your time before the book launch wisely and send your ARCs widely. Build your own social media account, create a website and blog, start a newsletter, reach out to bookstores for a launch event, contact your local media and do your best to promote the book ahead of its release!
8. Publication Day!
You made it! By now you’ve made a choice of POD or offset printing, uploaded your files and checked for errors. You have ordered proof copies. Note: KDP has different file requirements from IngramSpark. Make sure your book designer provides you with these files, or you know how to do them yourself. You may have also gotten your final illustrated file proofread and triple-checked every detail.
So, yes it’s time...let’s hit publish now! Congratulations you've done it! But the journey doesn't end here, it's only the beginning.
I hope this article has helped you in some way as you go through your self-publishing journey. If you have questions, comment below or use this form or look me up on Instagram. Visit my shop for discounted and autographed picture books.

Comments